Winter Triangle Keyhole Garden
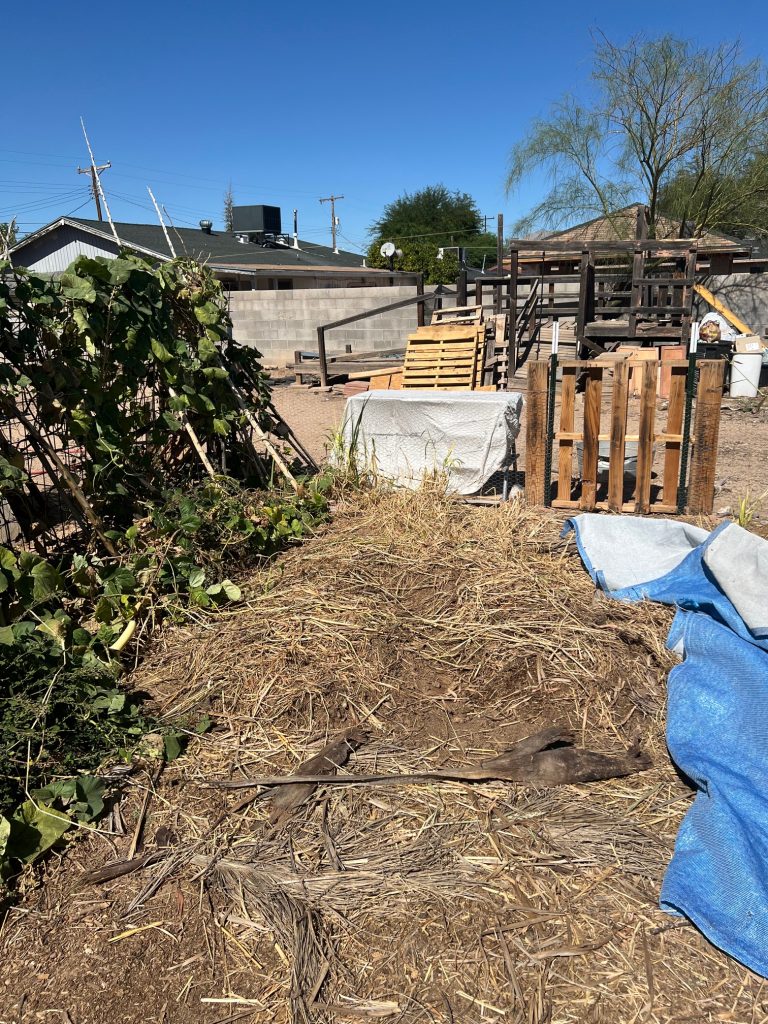
I’ll post a picture of the little garden space I’m building for this winter. I have a 20×20 foot fenced in area in my back yard to keep the dogs out. Inside that area, on the east and west, I have mainly gourds growing. I also grew a wall of sorghum diagonally across the square, northwest to southeast, for compost, mulch, developing the soil, creating microclimates by altering/blocking wind, blocking sun differently throughout the garden, and cause they look really cool when they are 8 feet tall. I cut the sorghum back at least 4 or 5 times, and only started it sometime in the mid summer, where the rest of the gated garden was started in the spring. Right now it looks like a mangled mess of straw and a few still-green plants.
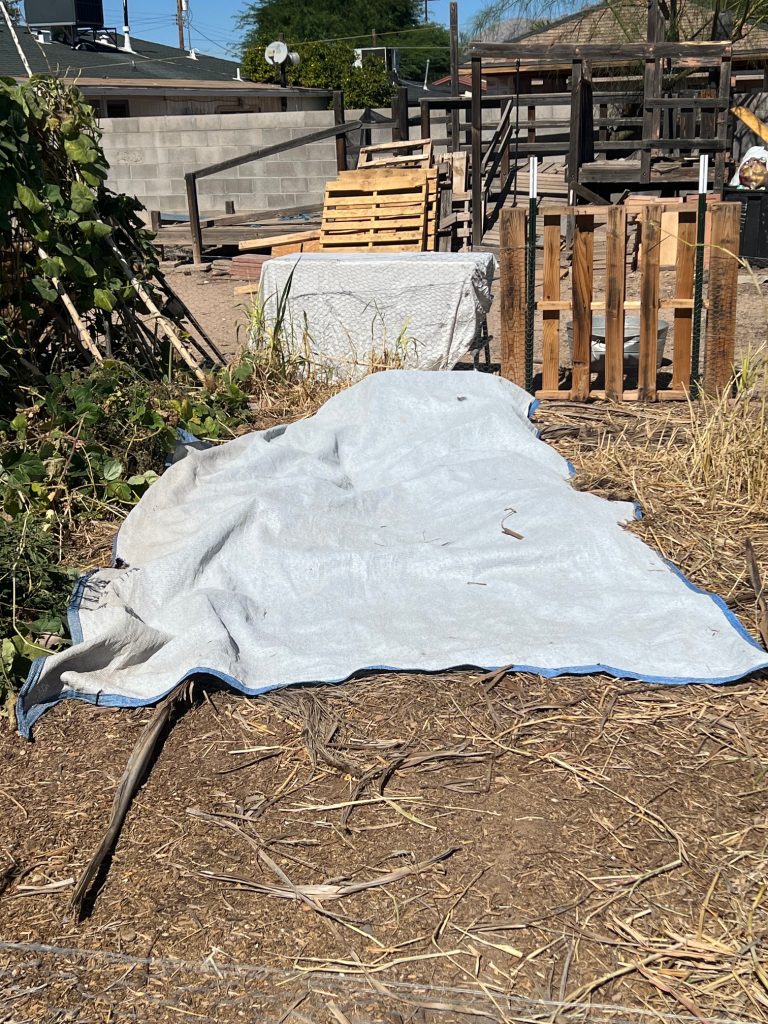
I really like the idea of keyhole gardens, and using growing space as efficiently as possible by reducing paths. This isn’t a great example of it I don’t think, but it is my first attempt. The soil started out as hard, bare dirt, like the rest of my yard. I began by using a tool (I’ll try to find the correct name) that breaks up the dirt by sticking it in and twisting, but does not compact like a tiller but rather just loosens and breaks up the earth a bit. I spread a bin of aged horse manure and a few shovels of compost over the bed and worked it into the soil a bit, encouraging more organic matter deeper into the soil to hold more water and develop the microbial life. I also mixed in a bunch of straw from the sorghum that had developed around the garden to encourage oxygen and act as a bit of a mulch. I keep putting a layer of the straw/grass on top after every step so it gets worked in bit by bit. I also watered it deeply two nights in a row because the first watering does not penetrate very deeply due to the mulch and the fact that the soil is essentially hydrophobic due to how dry it is. Once it gets nice and damp then another deep water really penetrates down quite deeply and is not lost to evaporation. A decent layer of soil above moisture prevents essentially all evaporation.
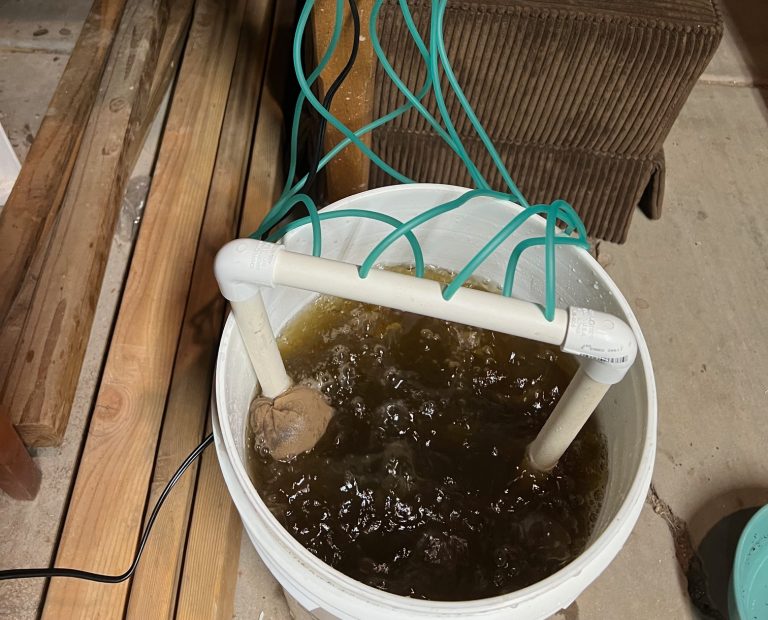
Tonight, I drank a glass of wine and for my first time I took an entire layer of my vermicompost stacking system and worked it into the soil with my hands. I collected most of the worms at first so I could spread them out, and I also chose some from different areas. Some of them had a stripe and I think that means they are pregnant, I saw a couple eggs, some were slow and some were fast. I honestly don’t have much information about red wiggler worms in the Sonoran Desert and how they will do year round in my garden, but it has dropped below 100 and I keep the bed under shadecloth all the time at this point. I feel that once they get established, I keep the ground moist very deep down so they shouldn’t have trouble getting away from the sun and heat. I know a guy who puts these worms in his wicking beds in Texas and they survive the summer and winter so they should be fine.
Nonetheless, I have given them a wonderful environment to live in, and the soil is building life as we speak. Next I plan to water the soil if it needs it however it has been keeping the moisture great over the past 5 or 6 days being under the shade cloth and mulch. Inbetween waterings I will apply a worm/compost extract tea as well as Garrett Juice and kelp. There is biochar in the worm castings as well as the compost, so there is a small amount being applied to this bed. I have a large batch ready to be made but I want to make a party of it. I think it works better to slowly add it to the natural system along with compost and worm castings rather than a large amount all at once, but I could be wrong. It probably also depends on how it is prepared.
Addition: Added Garrett Juice and Kelp with worm castings extract as a folar spray to all my plants and also applied like 3 gallons to my new winter garden area.
Planning to grow: kohlrabi, carrots, maybe radishes, definitely peas and some greens like chard, arugula, lettuce and kale. Some kind of flowers.
–Nichollas